
John (Caner) Kuru
4 min read
4 min read
A step-by-step guide to building and deploying your React Native app locally with Expo

Hi everyone,
About a year ago, I started developing a mobile application with Expo. I chose Expo because it was recommended by Facebook themselves, and it’s adopted by tons of big companies. Expo actually makes things a lot easier when building and deploying apps. However, I soon noticed that there’s a 30 builds/month limit for free users if you use their cloud service. Before upgrading to a premium account, I wanted to explore another way of doing this—and I found how to build and deploy locally with Expo! While our team is planning to switch to an Expo Premium account soon, this method bought us some time to develop at a super low cost and helped us understand the Expo environment better.
Behind the Code is a series of blog posts where I’ll share my experiences, learnings, and surprises related to this project. Please subscribe to our email list if you’d like to be notified when we publish the next one.
This guide will only cover iOS development for now. I'll share my Android deployment process soon.
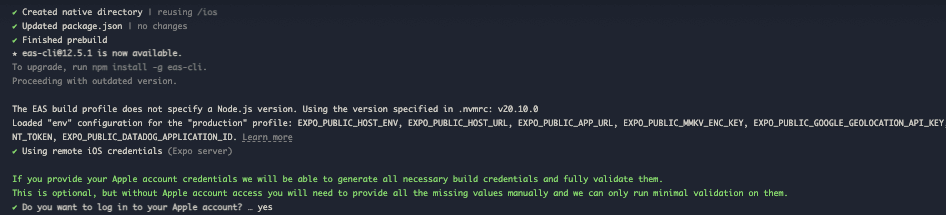
Let’s get started by creating the build file. Run the following command in your terminal:
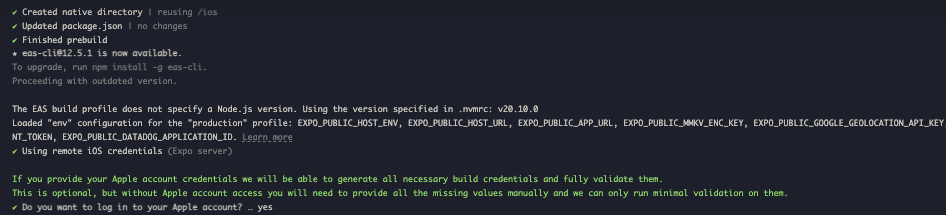
$ npx expo prebuild --platform ios && eas build --platform ios --clear-cache --local
After entering this command, you'll need to log into your Apple account in the terminal and answer a few questions about the project, certificates, etc. Most of the time, I just press enter, enter, enter, lol.
For context, I use a MacBook Pro M2 Max, and it usually takes around 7-8 minutes to complete the build process. The time it takes also depends on the project size.
Once the build process is done, you’ll see a file named build-**.ipa** in the root directory of your project.
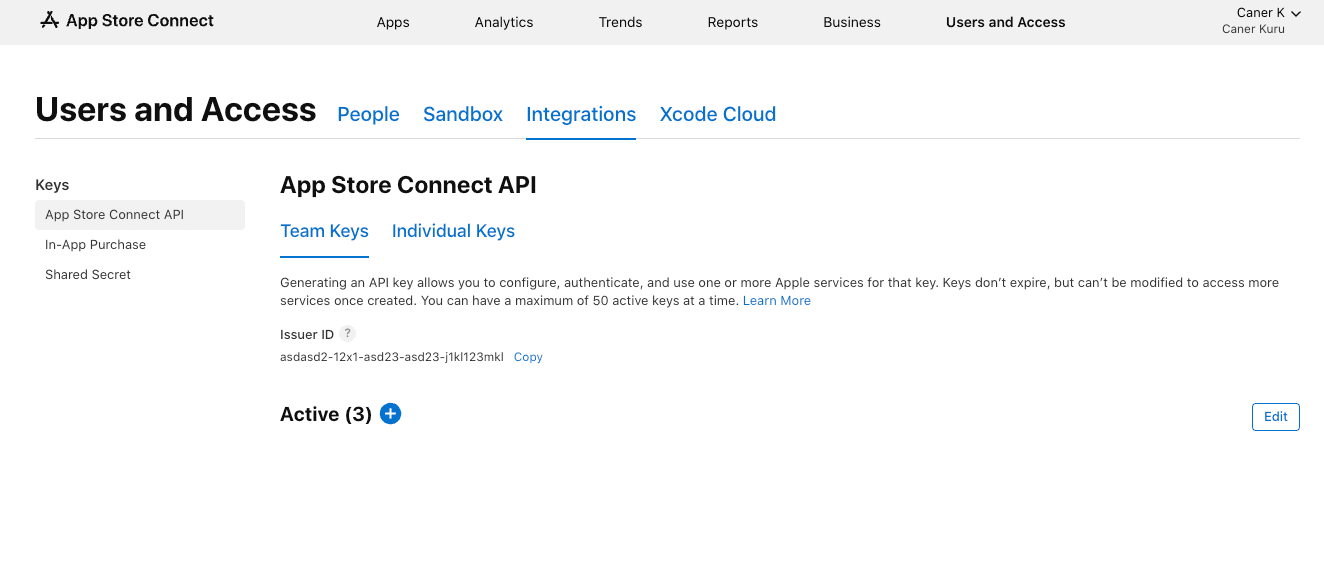
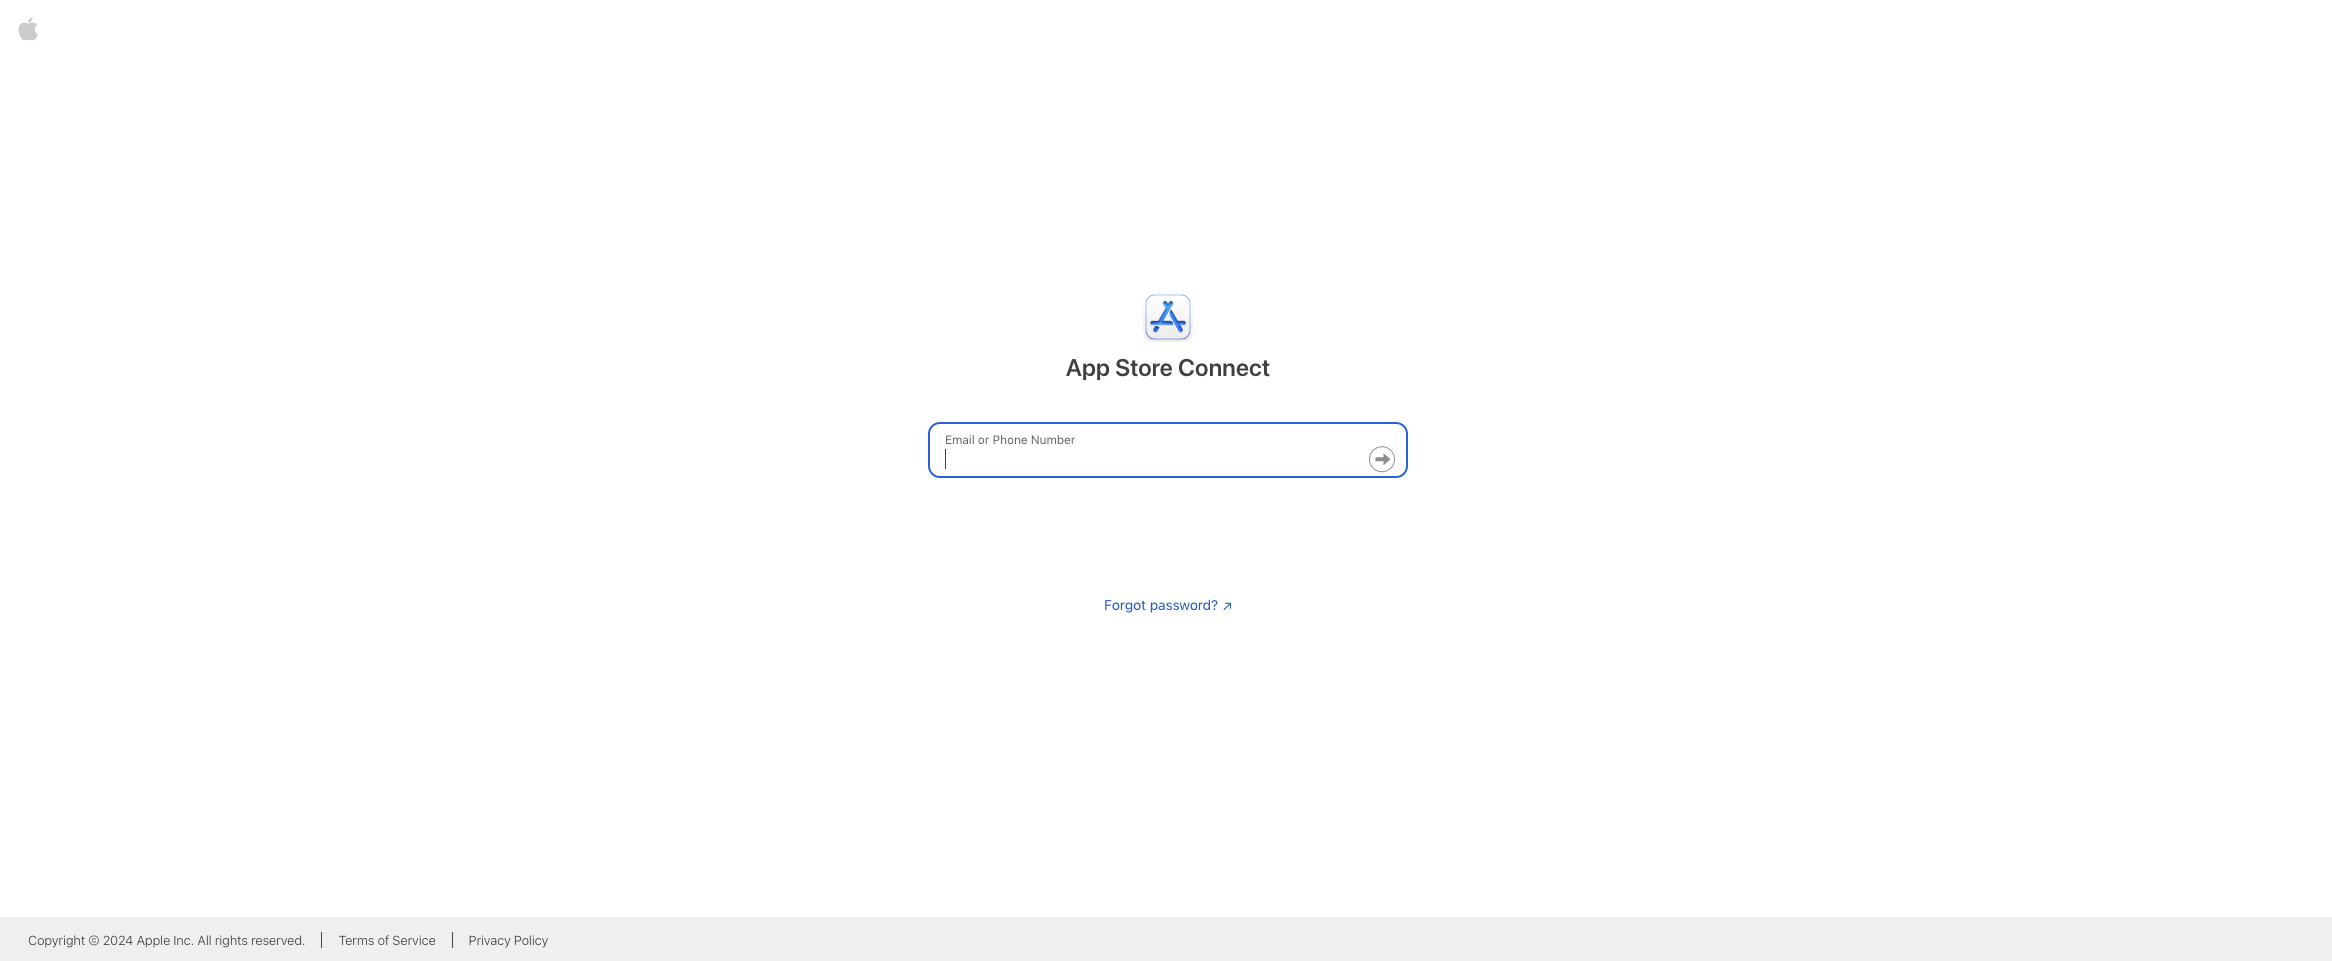
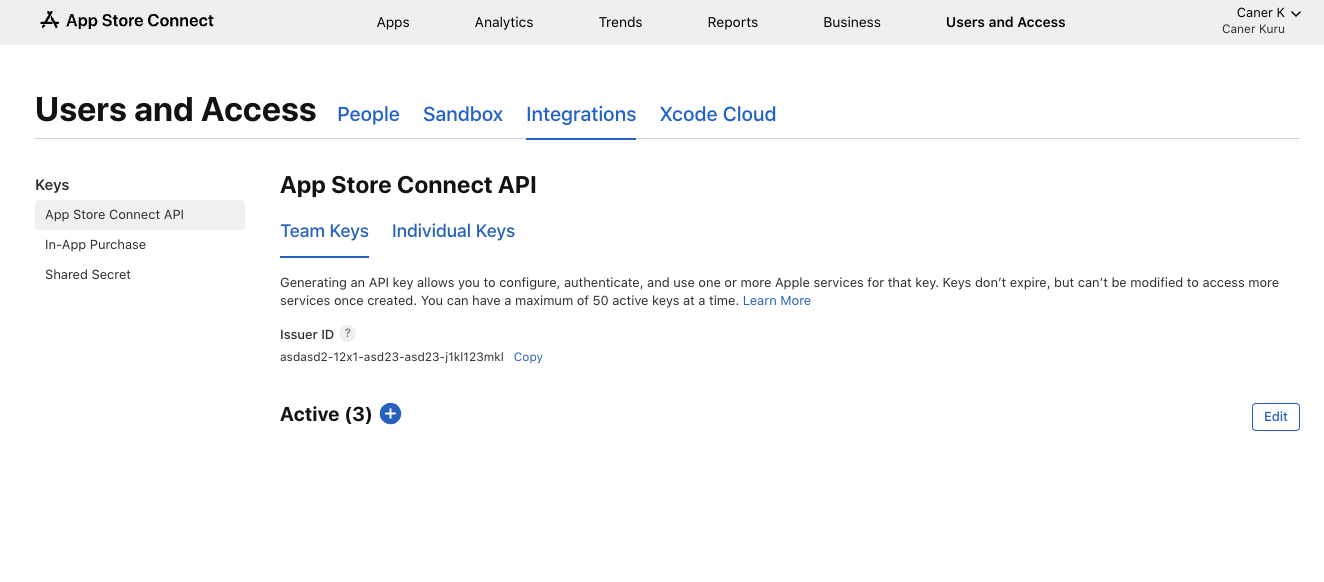
Next, log into your Apple account at App Store Connect and navigate to the "Apps" screen.
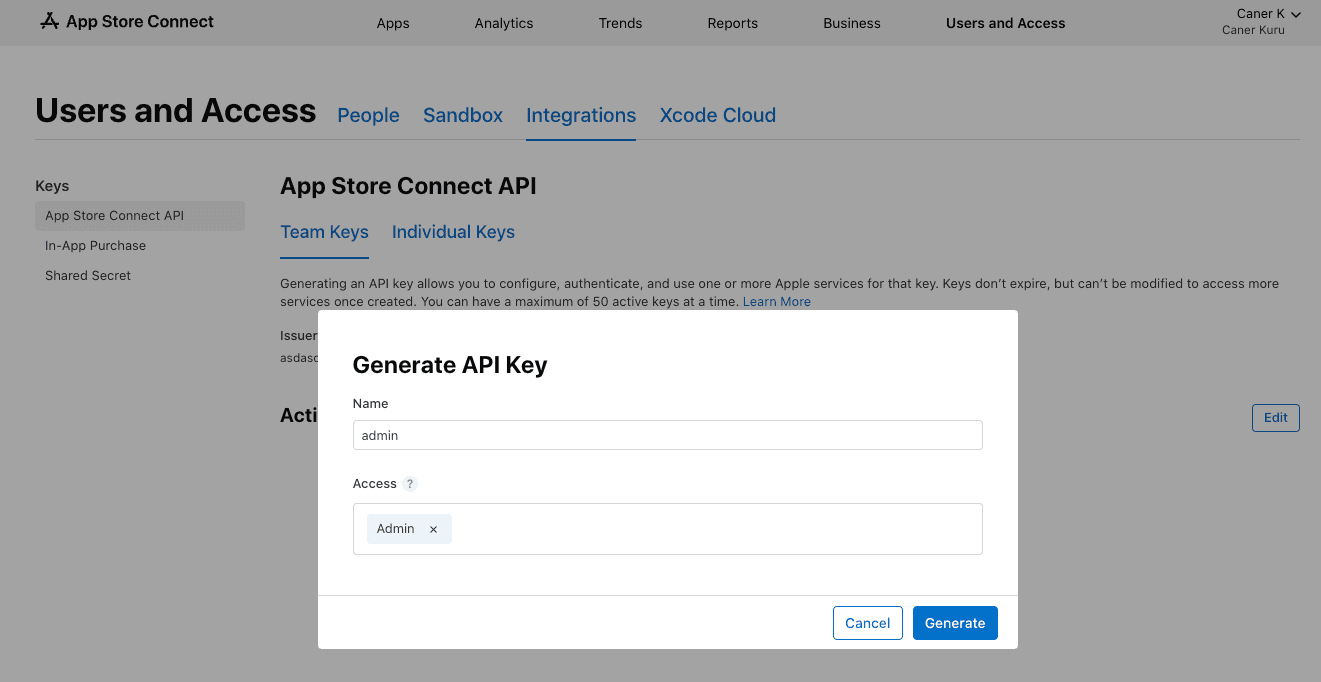
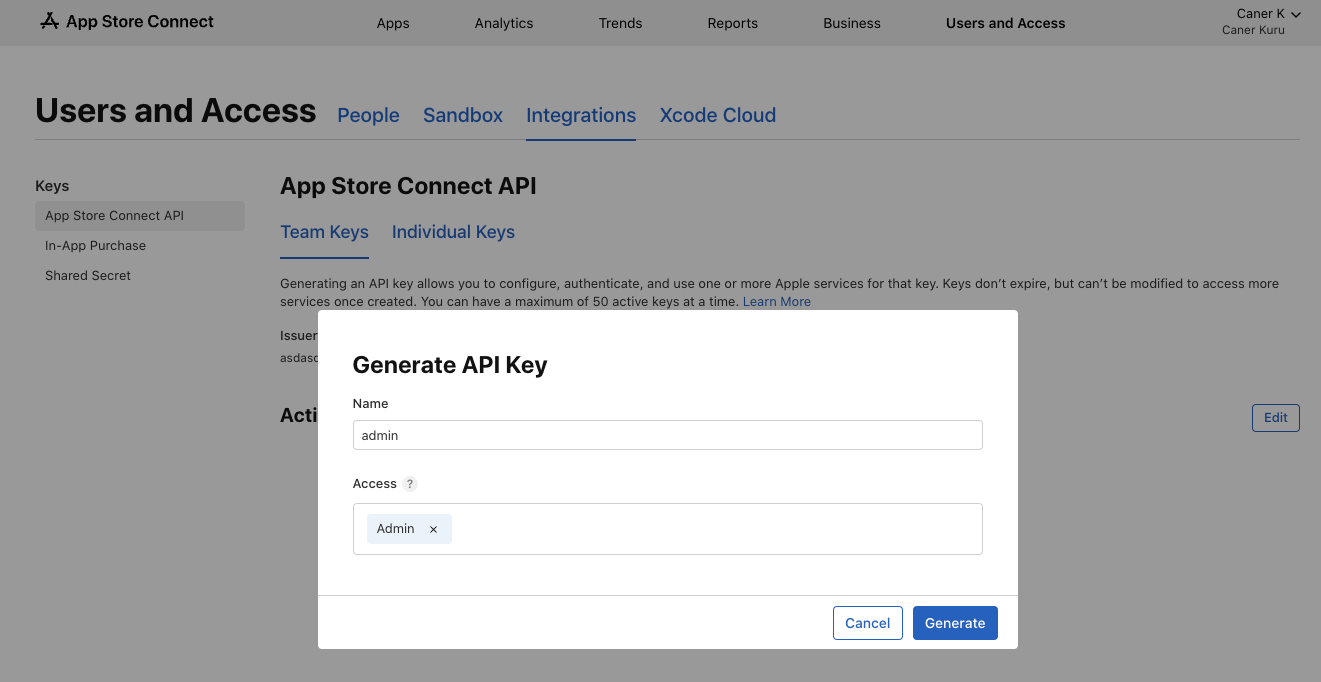
After generating the key, you’ll see a new item in the table. Download the key (.p8 file) and create a folder in the root directory of your project to store it by running the following command:
$ mkdir private_keys
Move the downloaded .p8 file to the private_keys folder.
Now, all you have to do is enter the following command and watch the magic happen:
$ xcrun altool --upload-app -f $IPA_PATH -t ios --apiKey $API_KEY --apiIssuer $API_ISSUER
Example command:
$ xcrun altool --upload-app -f /Users/developer/Desktop/expoapp/build-1728014039151.ipa -t ios --apiKey 1234567890 --apiIssuer 1234567890
Summary of the command:
This will automatically deploy your application to the App Store. I’ve been using this method to build my own local CI/CD process, and so far, it’s worked pretty well.
Please don’t forget to like this post and leave a comment if you have any questions, feedback, or anything else you’d like to share. See you in the next one!
